The backend of a website is the portion you don’t see. It hosts all of your website content… images, text, products, everything! The control house of styling, function, and all the things that make your website so great! In this guide, we will go over some of the details of what your backend might look like… (no pun intended, seriously)
How do I access the backend of my website?
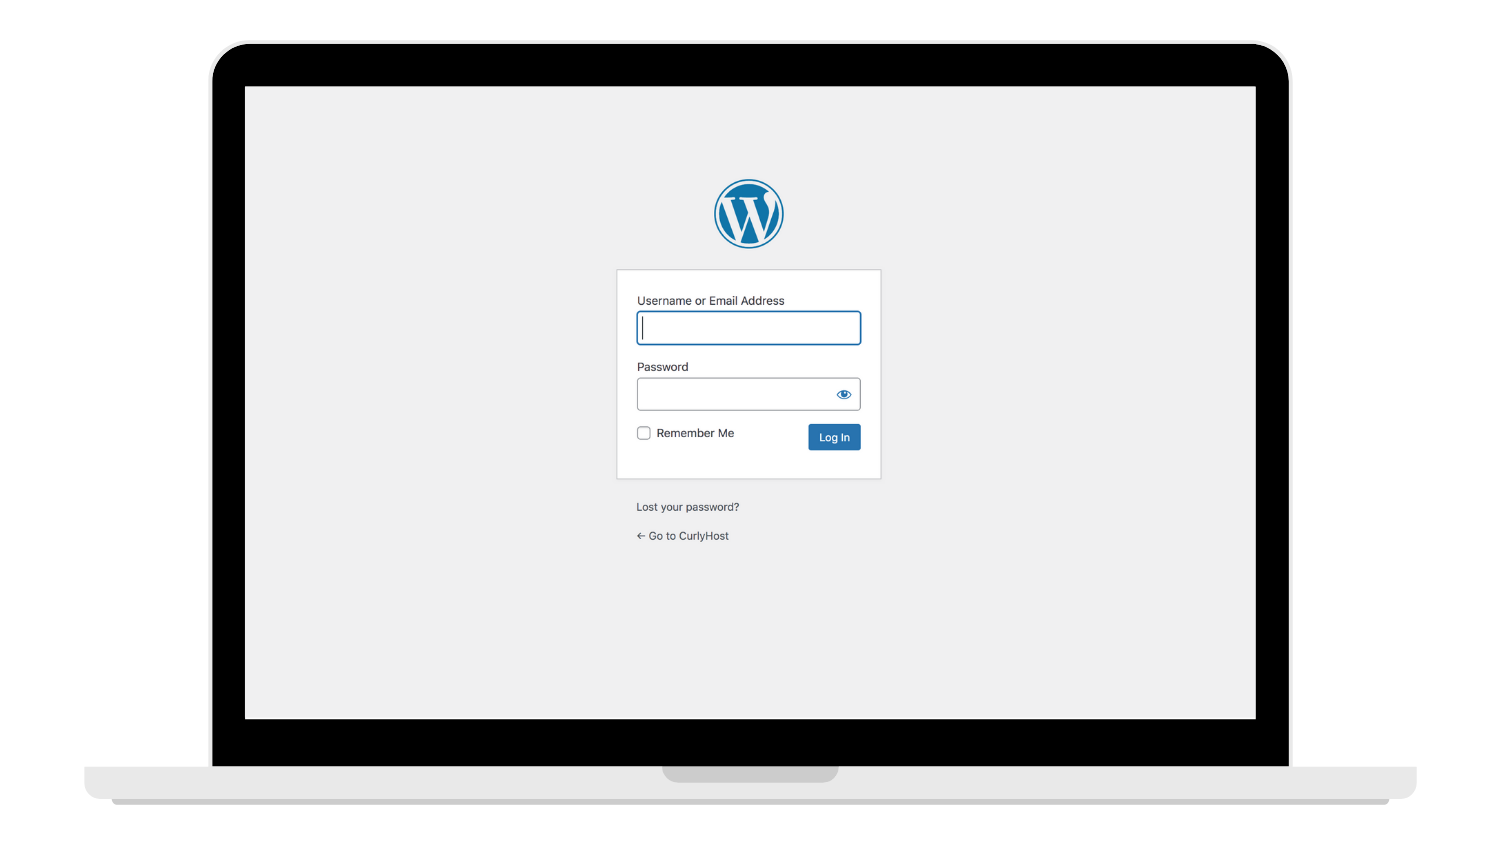
When you work with CurlyHost we will give you full access once your website launches! A link to your login page, username + password, along with admin access. The login page will be custom to YOUR website.
To give you an idea – your login page will look something like this:
Welcome to the ‘Dashboard’
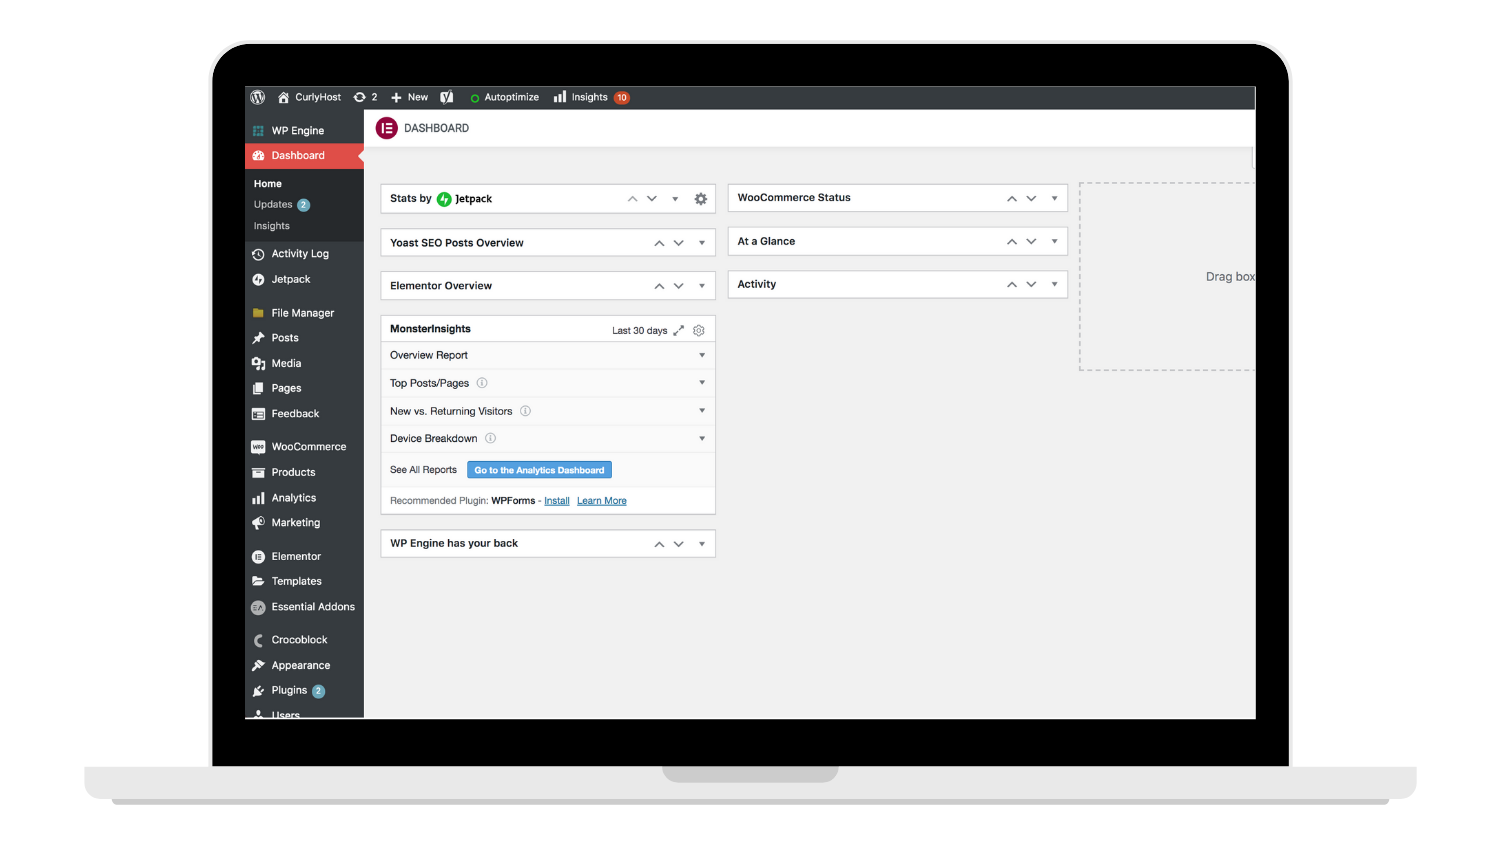
Once you log in to your website you’ll be brought to what is called the ‘Dashboard’ – a landing page of sorts that gives you a general picture of how your website is functioning along with links to internal pages, products, and more!

Using the Sidebar
The real key to your website is the sidebar. The sidebar navigates you through each portion of your website.
Some of these links won’t be necessary for you to use BUT here is a list of links that we want you to feel confident about using to their fullest of abilities!
Pages
This will direct you to all of the main pages on your website; Home, About, Contact, etc. Why might you need to access these pages? They are the starting points to edit images, text, links, and so forth. The heart of your website.
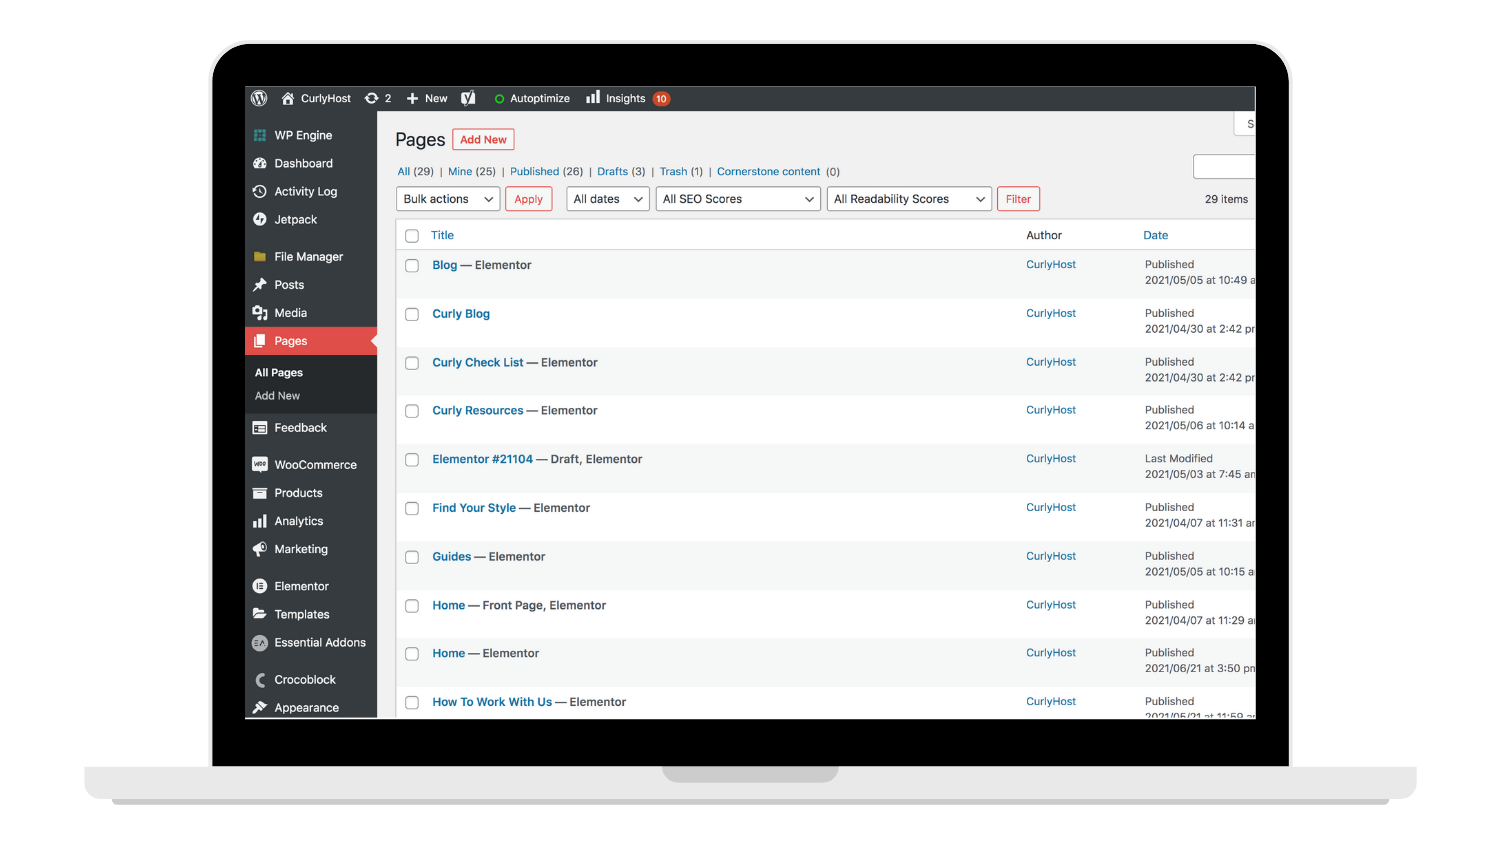
Tip: To find a page quickly, rather than scrolling through the list - try out the search bar! Simply type in the name of the page you’re looking for, and BAM! It will populate below.

To edit, click ‘Edit with Elementor’ this will show as you hover a page and will direct you to the super-smooth, easy-to-use, Elementor Page Builder (we will go into more details on the Elementor Builder in a later guide).

Posts
With Elementor, ‘Posts’ are used in various ways – the traditional blog post (popular by demand and can help bring additional traction to your website) – OR sometimes as sub internal pages that can be pulled into various sections on your website using tags + categories. (This can help with websites that have a lot of content that need to be organized and filtered through vs. using traditional pages that don’t always allow for automatic filters. We will make sure to point out if your website fits in that category.)
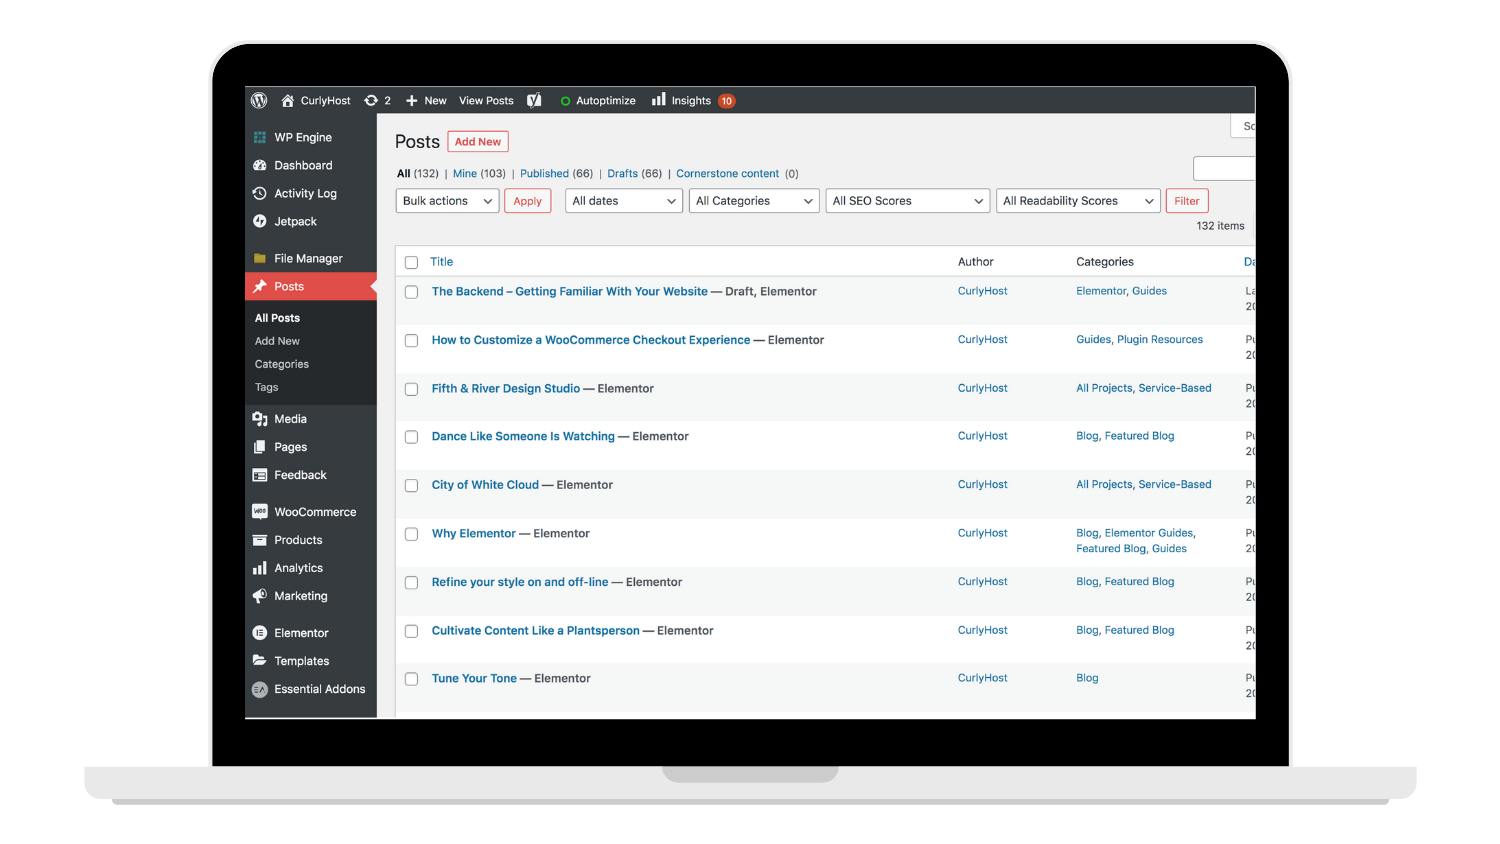
For now, let’s focus on blog posts. We set you up with post templates. Templates are set styles – they make the content look pretty. That means all you have to do is add in copy, images and click publish! It is that easy! But don’t you worry, we are working on a guide to walk you through those steps too!
Media
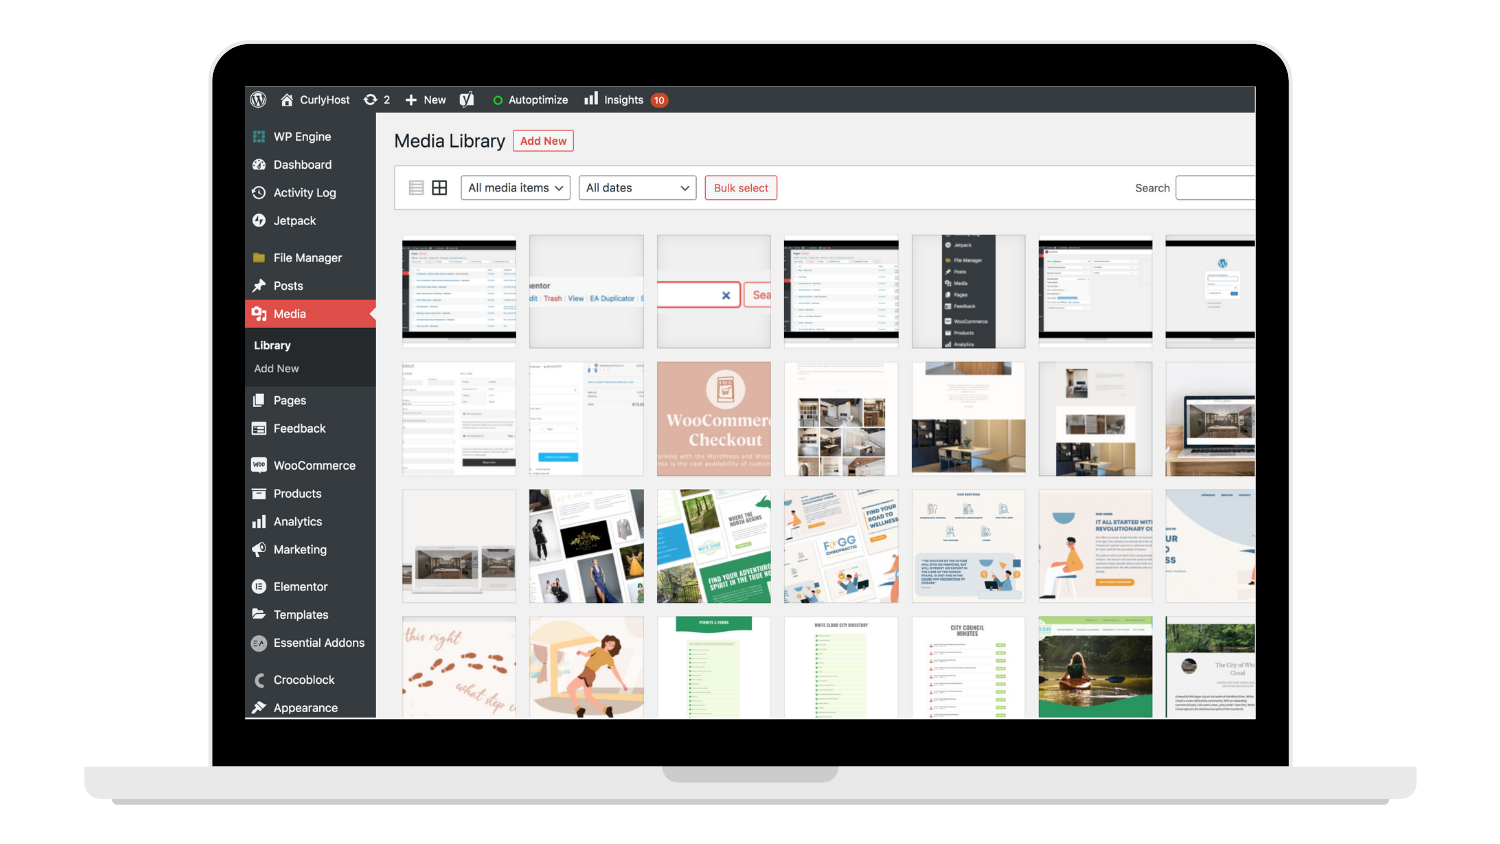
The Media section is where alllllll your images and website files are hosted. Really the only reason you would need to access this page is if your website calls for a link to pdf files. OR if you really want to take a moment to enjoy all of your beautiful photos. (We won’t judge!) Otherwise, you can access this content on pages and posts as you need to edit and upload images.
Templates
Most of the templates you’ll never really need to mess with as we already set you up for success! But let’s say you have a certain area on your websites like popups, team bios, or services. That content COULD be hosted in Templates. (It all just depends on what was required to make your website look and function the best it possibly could.) A quick way to find out is by simply going to Templates > Theme Builder > and searching through the various presets.

Tip: We HIGHLY recommend not messing with this area too much unless you sort through some of our other guides on templates. We want to make sure your website stays looking awesome! And by deleting or editing a template in certain ways can mess with things that you might not have intended to adjust. So pretty please, only edit these templates if we mention a specific area in your project. And always feel free to reach out if you’re unsure!
Woocommerce + Products
(for e-commerce websites)
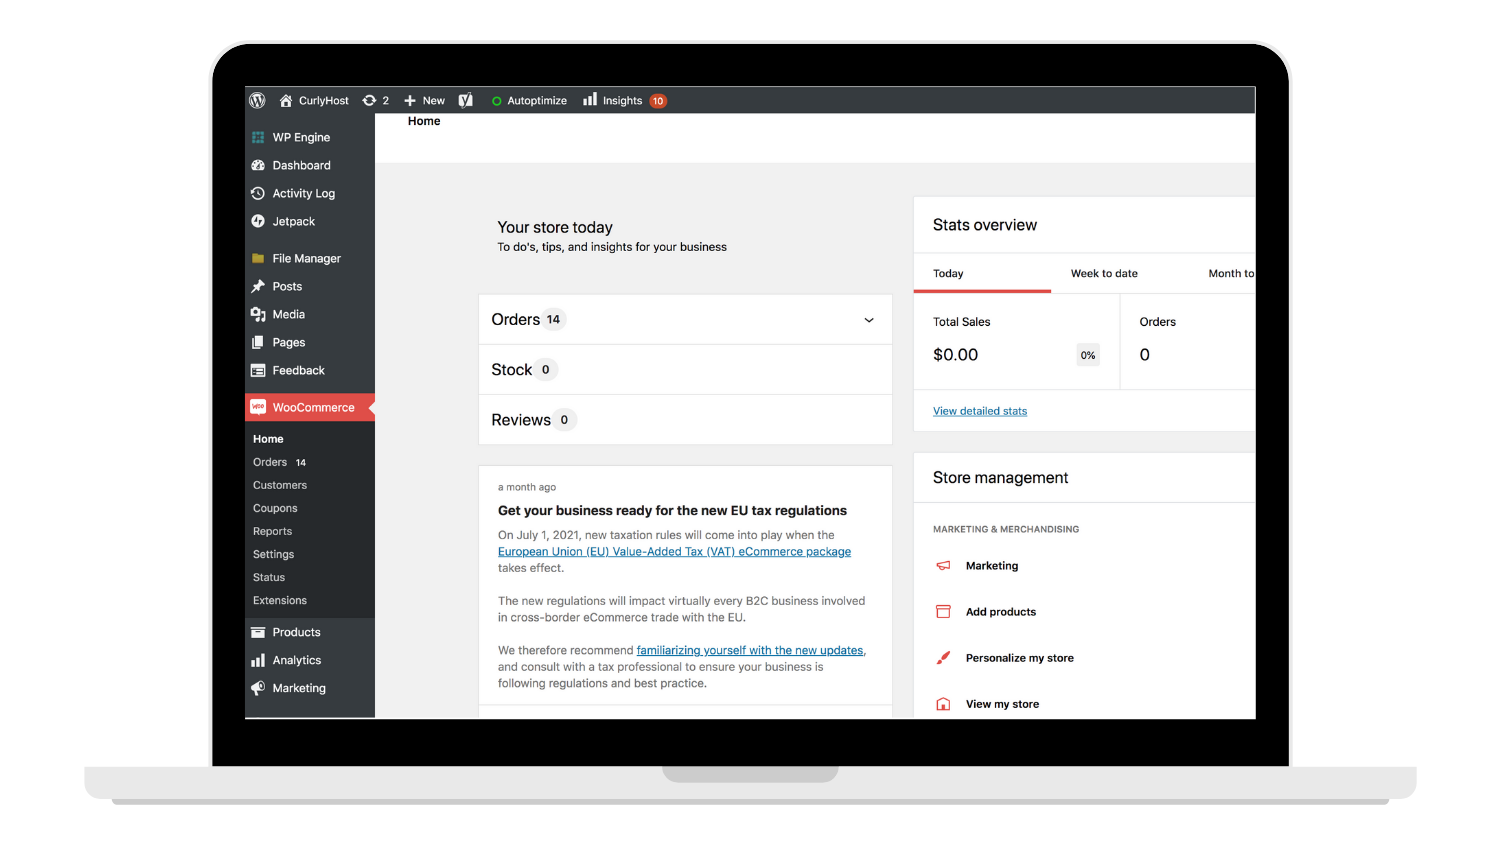
Are you selling products on your website? We got you covered! You’ll see two additional links in the backend sidebar – ‘Woocommerce’ and ‘Products’. These two links will navigate you to everything related to your store. We’re talking about orders, product details, coupons, reports, and so on.
Woocommerce:
The ‘Woocommerce’ tab is the motherload – encompassing when something on your website sells, payment options, shipping details, email notifications, all of the things. We always aim to have these details sorted out with you before your website goes live, but if something needs to be updated as time goes on – you need to complete an order – or would like to see the most reason report on sales – this is where you’ll find those details.
Products:
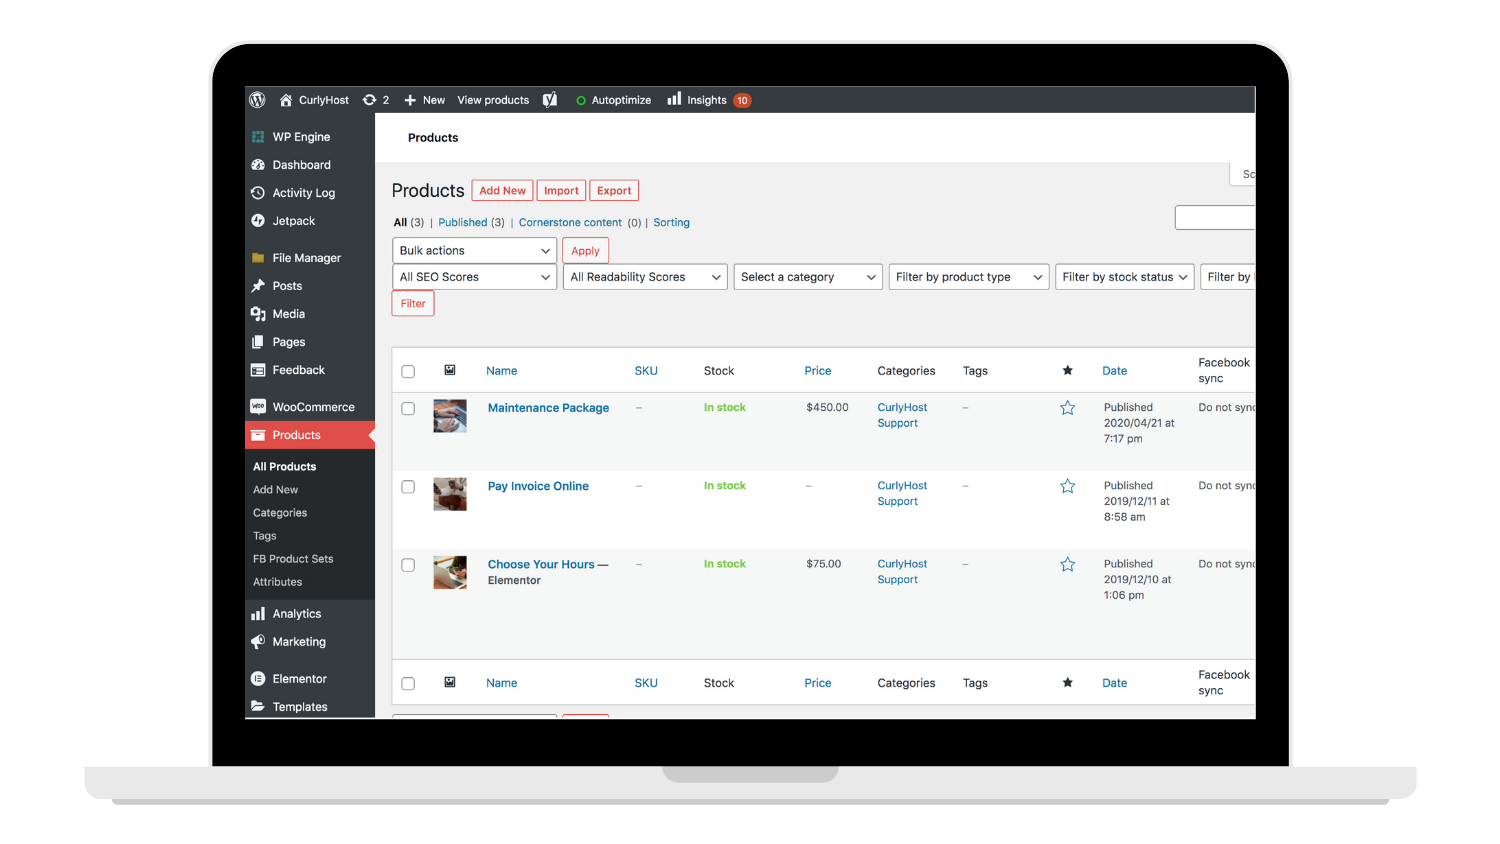
Similar to pages and posts, the product page will show all of the products on your website in a list form. You can edit product details by clicking ‘Edit’ > and guess what?! We also have a template here! So all you have to worry about is setting up the product details, cost, and images and in the frontend, it will be stylized with that template to match the look and feel of your website.
Menu
This last one is one you might never need to update. But IF you ever need to update your menu, all you need to do is go to Appearance > Menu. And this area can look and function differently on different websites. But in general, you can drag to reorder pages, add custom links, drop in new pages, and so forth.

Your website is unique. The CurlyHost team took time and a LOT of thought in creating something that would fit your brand + voice, look fabulous and most importantly function to fit your needs. So the backend of your website will look and function to match that. Hopefully, we answered some of your questions above, but make sure to check out our other guides to dive in deep and come out feeling confident about your website.
